Installing LineageOS 20 on the Lenovo TB-8703N: the sequence that actually works
The Lenovo Tab 3 8 Plus shipped with Android 6 and stopped getting updates years ago. LineageOS 20 puts Android 13 on it, which is a genuinely dramatic upgrade for hardware this old. It is also a lot more involved than the usual "flash ROM, flash GApps, reboot" routine, and most of the guides online skip the parts that make it fail.
This is the sequence that worked on my tablet after several failed cycles. The order matters more than anything else here.
Before you start
This process wipes the tablet completely. It also carries a real risk of a non-booting device, and you should be comfortable recovering from that before you begin. If you are not sure your PC can put this tablet into EDL mode and talk to it, sort that out first — that is your safety net.
What you need:
TWRP-WZSX150.img— the first recovery buildTWRP-8703-treble.img— the treble-aware recovery buildcreate_1G_vendor.zip— repartitions the storage to make room for a vendor partitionlineage-20.0-UNOFFICIAL-TB8703N.zip— the ROM itselfMindTheGapps-13.0.0-arm64— if you want Google appsboot-signed.img— the step almost everyone missesprog_emmc_firehose_8953_ddr.mbn— the MSM8953 programmer, for EDL recovery if things go wrong
Why this device needs a vendor partition
LineageOS 20 is a Treble ROM. Treble expects the device-specific driver layer to live on its own vendor partition, separate from system. This tablet was released before Treble existed, so it does not have one.
That is what create_1G_vendor.zip is for: it carves out a one-gigabyte vendor partition from the existing layout. Skip this and the ROM will not boot, no matter how many times you reflash it.
This is also the riskiest step in the whole process, because repartitioning is exactly the kind of operation that leaves a device unbootable if it is interrupted. Charge the tablet properly first and do not touch the cable while it runs.
The two-TWRP problem
You need two different TWRP builds, used at different stages, and this trips up almost everyone.
TWRP-WZSX150.img handles the original partition layout — you use it to run the vendor repartition script. Once the layout has changed, that build no longer understands the device correctly, and you switch to TWRP-8703-treble.img, which knows about the new vendor partition.
Trying to do everything from a single TWRP build is the most common reason this install fails.
The sequence
- Back up anything you care about. All of it is about to be erased.
- Flash
TWRP-WZSX150.imgto recovery and boot into it. - Flash
create_1G_vendor.zip. Let it finish completely. Do not reboot early, do not unplug. - Flash
TWRP-8703-treble.imgto recovery and boot into the new recovery. - Check that the vendor partition exists and can be mounted. If TWRP cannot see it, stop here — going further will only waste your time.
- Wipe system, data, cache and dalvik.
- Flash the LineageOS 20 zip.
- Flash MindTheGapps in the same TWRP session, without rebooting in between. See the warning below.
- Flash
boot-signed.imgto the boot partition. This is not optional. See below. - Reboot. The first boot takes several minutes — considerably longer than you expect. Leave it alone.
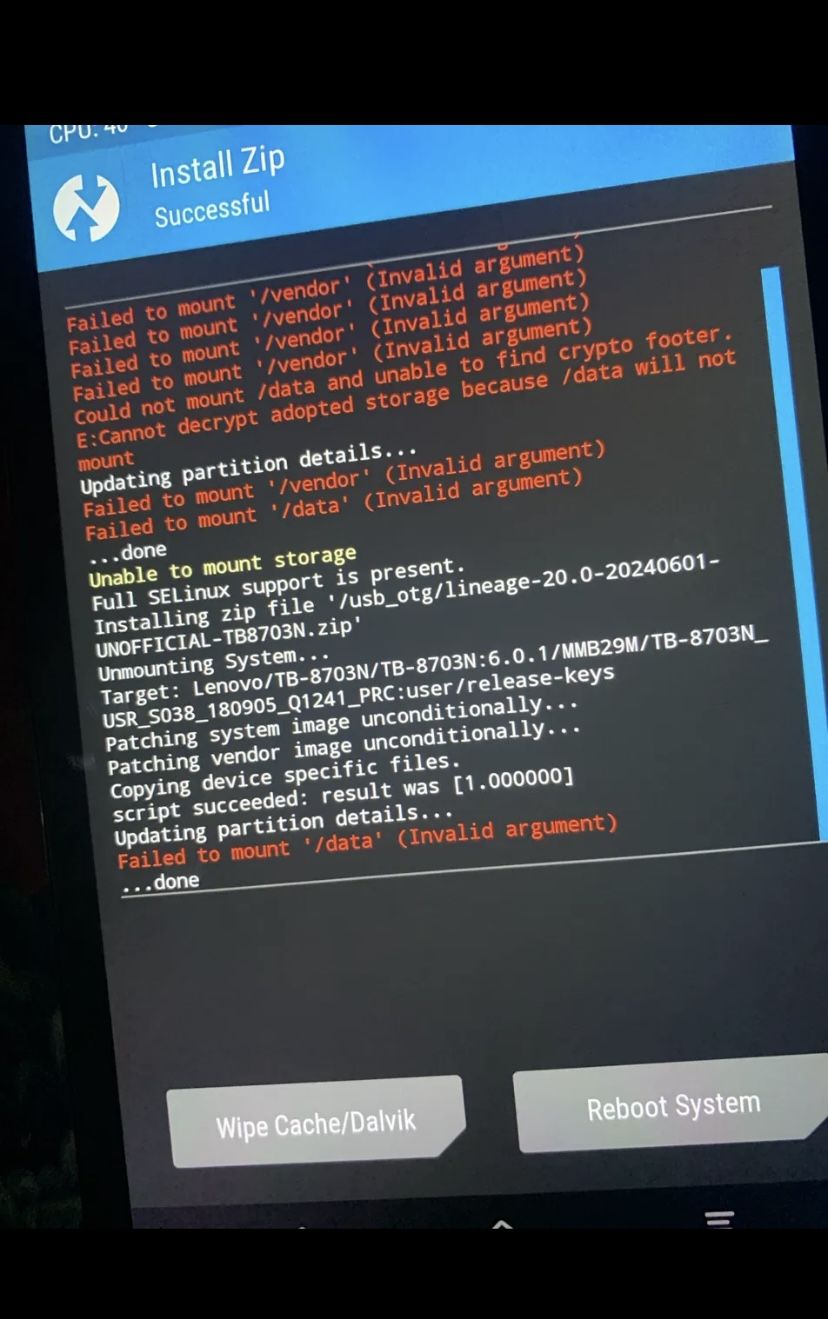
lineage-20.0-20240601-UNOFFICIAL-TB8703N — and that TWRP still reports Failed to mount /vendor alongside Install Zip Successful. Those mount warnings are the next problem, not a failed install.GApps must go in the same TWRP session as the ROM. If you reboot into LineageOS first and then go back to flash GApps, it will not work properly. LineageOS sets up its permissions and system structure on first boot, and adding Google apps after that point is too late. Flash ROM, then GApps, then reboot — one session.
The boot-signed.img flash is mandatory. Skip it and you get a bootloop that looks exactly like a bad ROM flash, which sends people back to re-downloading and re-flashing the ROM over and over. The ROM was never the problem. This was the single biggest time-waster in my install.
If TWRP cannot mount vendor or data
After repartitioning, I hit filesystem corruption on both /vendor and /data. TWRP would refuse to mount them, and flashing anything on top of that fails in confusing ways.
TWRP has a built-in fix for this: Wipe → Advanced Wipe → select the partition → Repair or Change File System → Repair File System. That resolved it for me on both partitions without needing to start over from EDL.
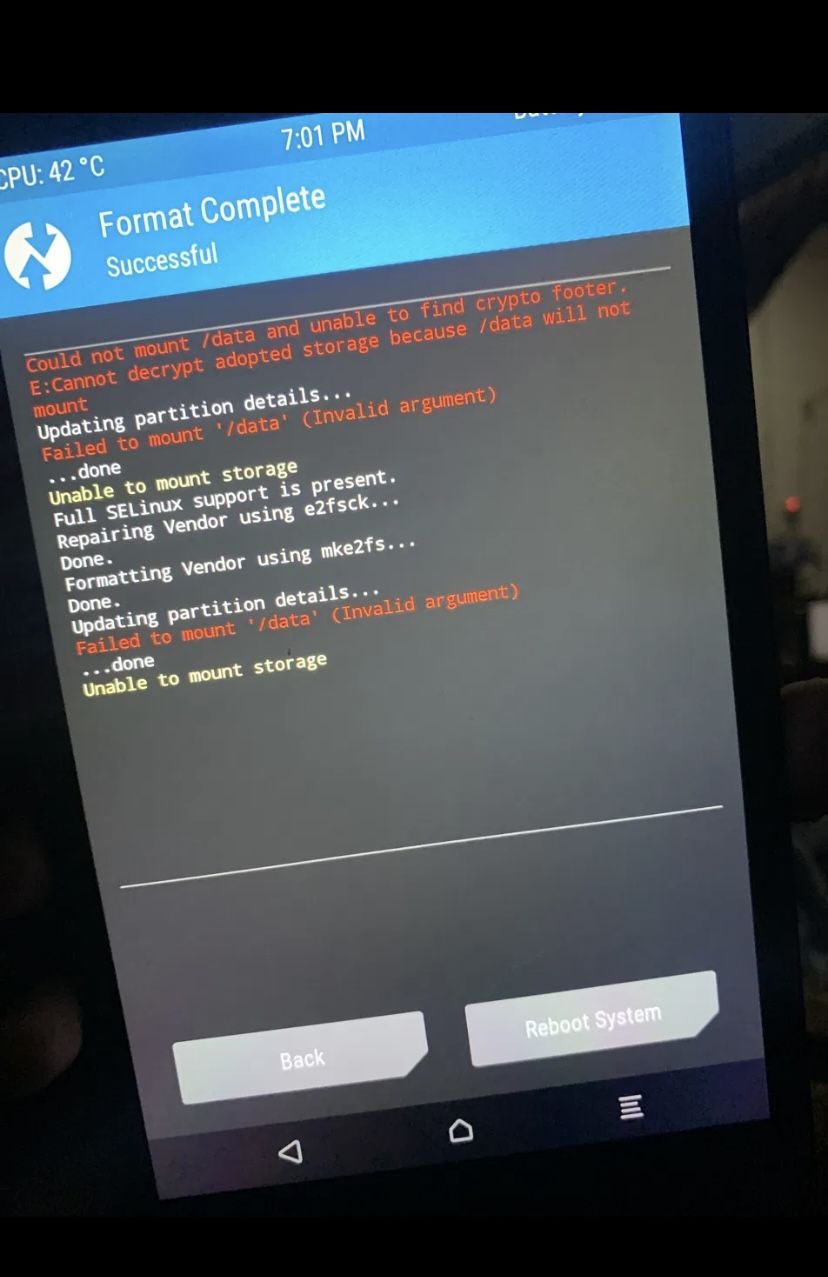
Repairing Vendor using e2fsck, then Formatting Vendor using mke2fs. This is the fix working — the remaining /data warnings are a separate issue.Data was more stubborn. On my tablet the repair failed outright the first time:
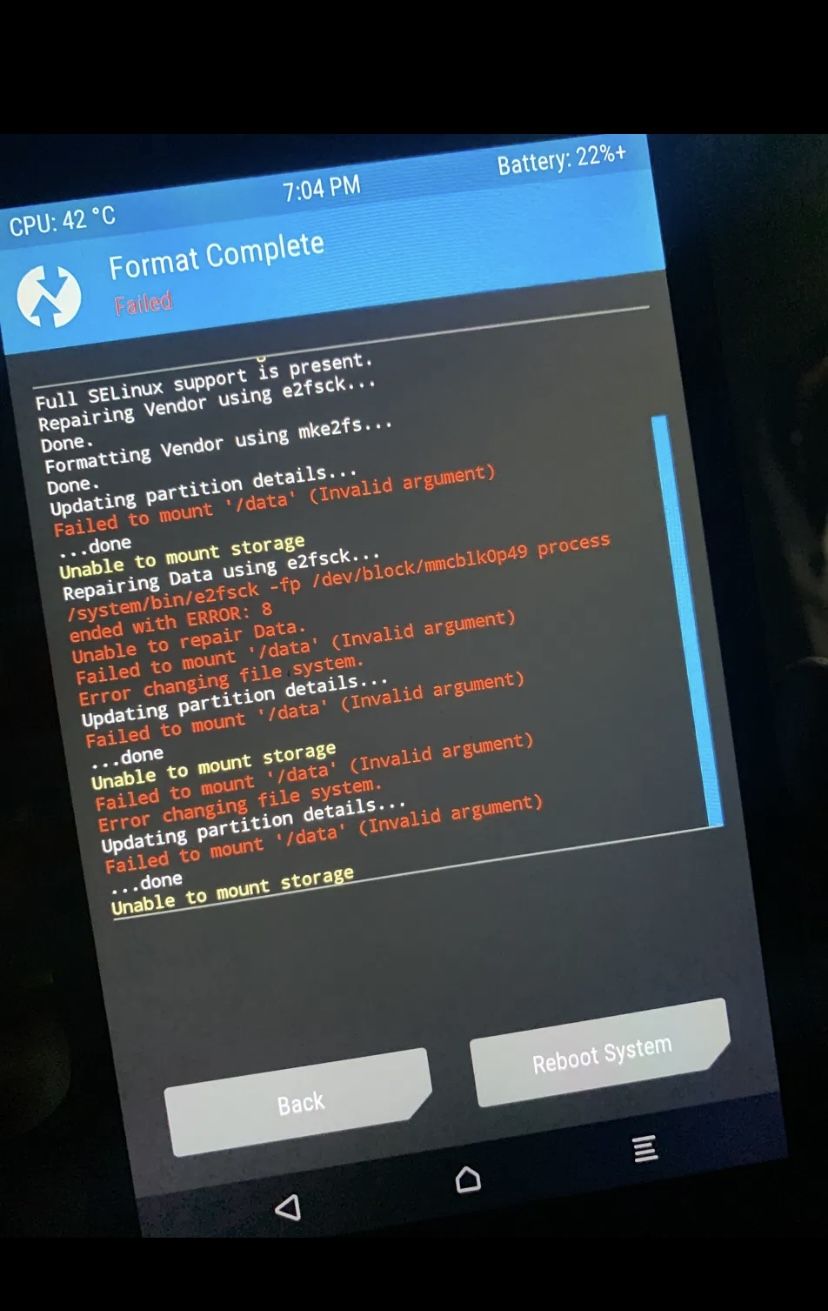
Repairing Data using e2fsck ... ended with ERROR: 8 and Unable to repair Data. When repair fails like this, formatting the partition outright is usually the way forward — you are wiping it during this install anyway.Try this before you conclude the repartition failed. It looks like a much worse problem than it usually is — there is a full guide to TWRP mount failures covering when repair works and when to format.
If your PC will not talk to the tablet
Every step above assumes your PC can reach the tablet reliably. If it cannot, sort that out before you touch the partition layout — a repartition that dies halfway because the connection dropped is a much worse day than a connection you fixed first.
I had already been through this during the earlier hard brick recovery: QFIL and QPST on Windows kept failing during the handshake, with the tablet dropping off the USB connection. Moving off Windows entirely was what made the connection stable — I used the open-source bkerler/edl Python tool from Kali Linux, which does not have Windows' driver signing complications.
If you have exhausted the usual Windows fixes — reinstalling the 9008 driver, disabling driver signature enforcement, switching to a USB 2.0 port — a Linux live USB is a genuinely underrated next step rather than a last resort.
The microphone problem, and its fix
One thing did not work after this install: the microphone recorded silence, while speaker and headphone output were fine.
It turned out the ROM shipped with incomplete audio path configuration, and no amount of reflashing was going to change that. The fix was to extract the audio config from Lenovo's stock firmware and install that instead. I have written up the whole diagnosis in a separate guide on the audio HAL and ACDB mappings.
Worth knowing before you start: this is a normal thing to hit on unofficial builds for older Qualcomm devices, and it is fixable.
Frequently asked questions
- Can I skip the vendor partition step?
- No. LineageOS 20 is a Treble ROM and needs a vendor partition. This tablet does not have one out of the box.
- Why do I need two TWRP builds?
- The first works with the original partition layout so you can run the repartition script. The second understands the new layout with the vendor partition. Using one for both stages is the most common failure.
- Can I flash GApps later?
- Not reliably. Flash it in the same TWRP session as the ROM, before the first boot.
- The tablet is stuck in a bootloop. What did I miss?
- Most likely
boot-signed.img. Check that before you assume the ROM download was bad. - How long should the first boot take?
- Several minutes, and longer than feels reasonable. Do not interrupt it.
Stuck partway through? Tell me which step you are on and what the screen says. That is usually enough to identify what went wrong.